It can be quite tricky getting the hang of Adobe Illustrator, but if you
take a step back and concentrate on the basics there's a range of
options for creating great looking images. In this tutorial, we'll take a
look at constructing a group of cool vector ninja characters using just
the basic shapes and a variety of simple tools, making it a good start
for Illustrator beginners.
After opening up Adobe Illustrator, create a new document. For a fun
project the size of the document doesn't matter, Illustrator has a vast
area of artboard beyond the document edges that can be used. I
personally use the CMYK color mode out of habit and the ease of managing
blacks, but a wider range of colours are available with RGB. The choice
should really depend on the final outcome of the project; print or web.
Depending whether your Illustrator software has the default settings, you might want to check the options for the
scaling of strokes and effects, this little option could save you a headache layer down the line.
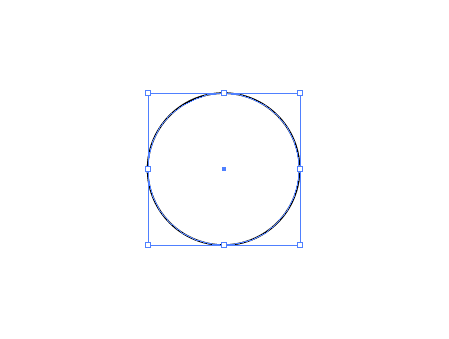
Grab the Circle Tool and draw a shape on the artboard, hold the SHIFT
key to create a perfectly equal object. By default this will have a
white fill and black stroke.
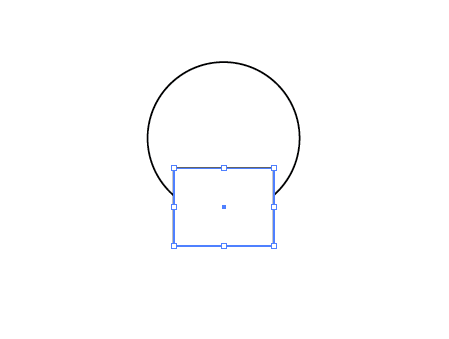
Select the Square Tool and draw another shape on the artboard, position
this to overlap the original circle. Use the Align Palette to centre the
two shapes horizontally.
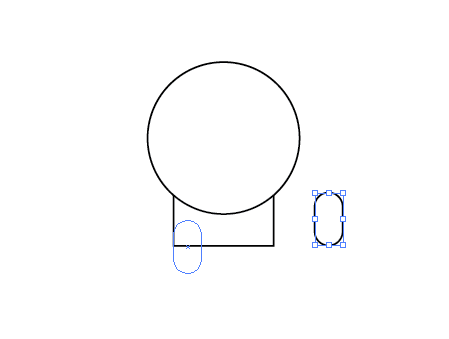
From the same menu, use the Rounded Rectange Tool to draw a small leg.
Adjust the roundness of the corners with the keyboard cursor keys until
the ends are completely circular.
Zoom in and position the leg exactly in relation to the edge of the square body.
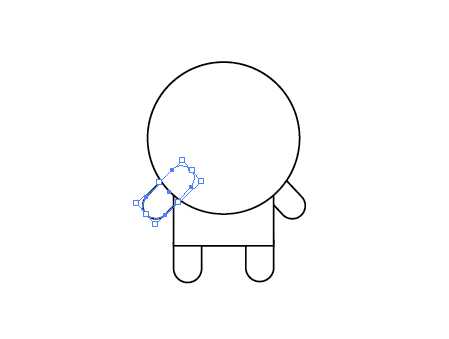
Duplicate the leg and move into position for the remaining limbs, for
the arms rotate the shape by 45 degrees. To position the shapes behind
the other objects, press the CTRL + [ and CTRL + ] keys repeatedly to
adjust the stacking order of the selected objects.
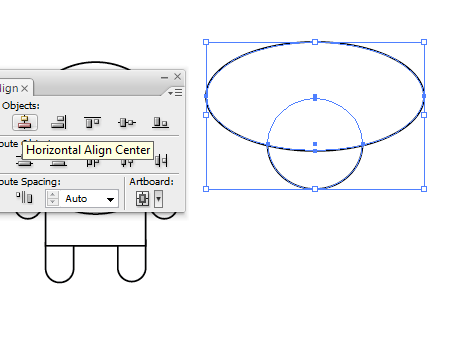
Draw another perfect circle onto the artboard, and beside it a much
larger oval. Overlap the two and use the Align Palette to position
exactly.
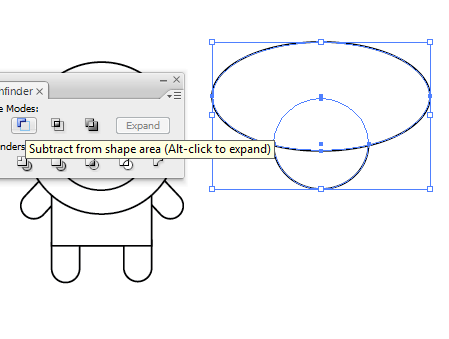
With the two shapes selected, click the Subtract from Shape Area option
from the Pathfinder palette. Click the Expand button to refresh the
bounding box of the shape.
By using temporary shapes as tools along with the Pathfinder options, a range of custom objects can be created.
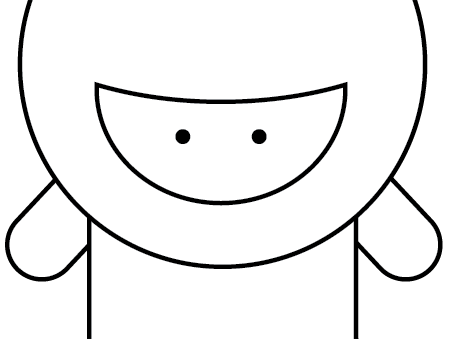
Position this semi-circular shape within the large circle of the
character to represent the facial area. Draw in a small circle as an
eye, fill this with a black swatch and clear any stroke. Copy and paste
in front (CTRL + F), then move horizontally to the side (hold SHIFT to
constrain the axis)
Grouping any pairs of objects, such as the eyes and arms will allow them
to be centralised with the other objects using the Align Palette
without being moved individually.
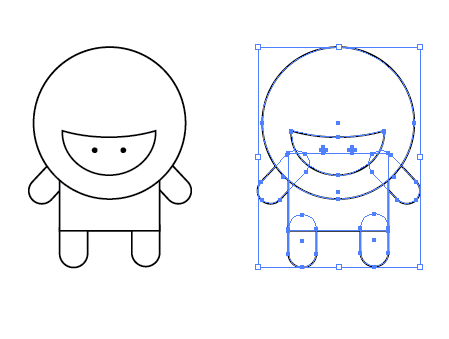
With the complete line-work character laid out and aligned, draw a
selection around the complete object and copy and paste a duplicate.
Move a copy off to the side as a backup.
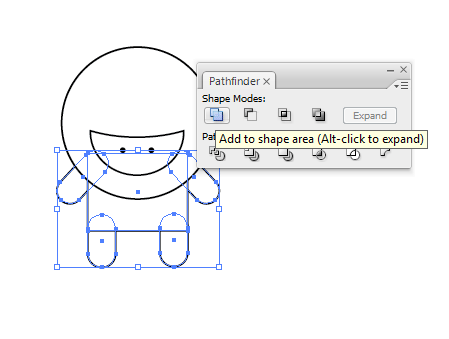
With all the objects that make up the torso and limbs selected, chose
the Add to Shape Area option from the Pathfinder tool and Expand to
merge the shapes into one.
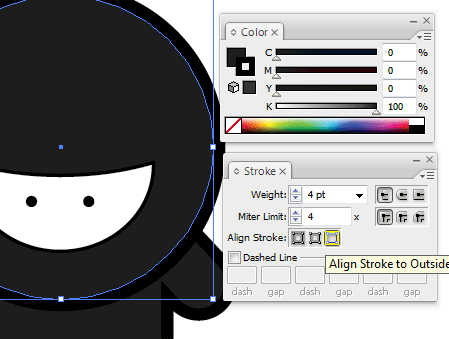
Fill the body elements with a very dark grey (95% black) and add a 4pt stroke aligned to the outside at 100% black.
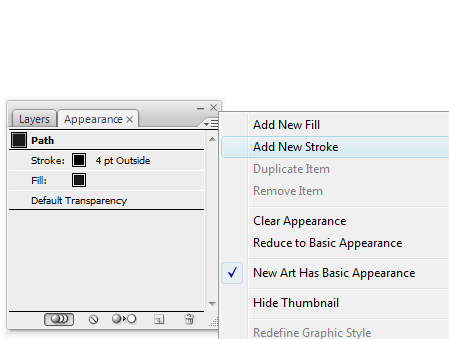
In the Appearance Palette, click the small options arrow and select Add New Stroke.
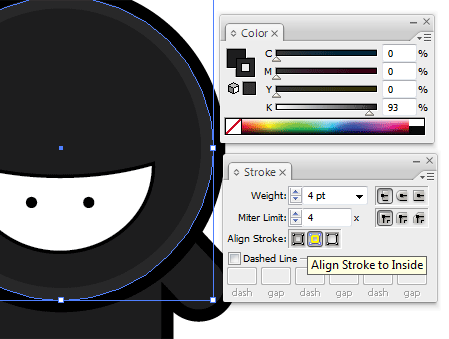
This time, add a 4pt stroke aligned to the inside, with a lighter, 93%
black. This multiple use of strokes is a technique I've come to use in
my character designs which really helps lift the colours by adding a
little depth and variation.
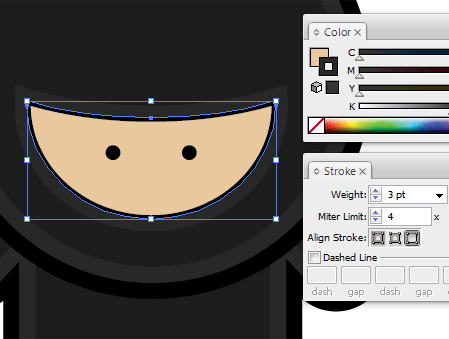
Select the facial area and fill with a pale skin tone, add a slightly
thinner stroke at 3pt aligned to the outside using the 93% black.
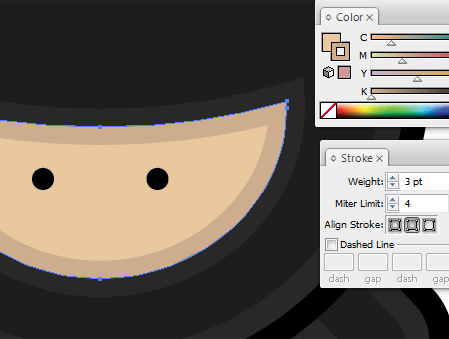
Add a New Stroke through the Appearance Palette and give this line a slightly darker tone, aligned to the inside of the shape.
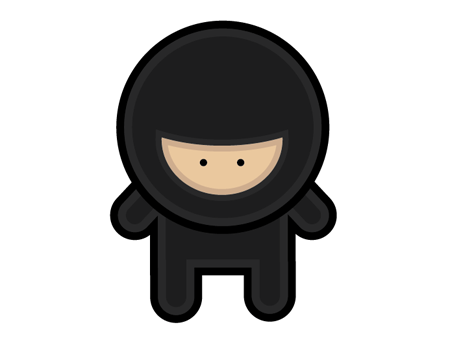
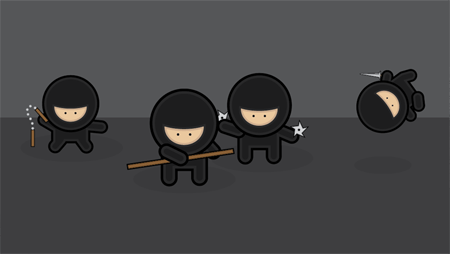
The basic version of the character is complete, ready for some stealthy ninja action.
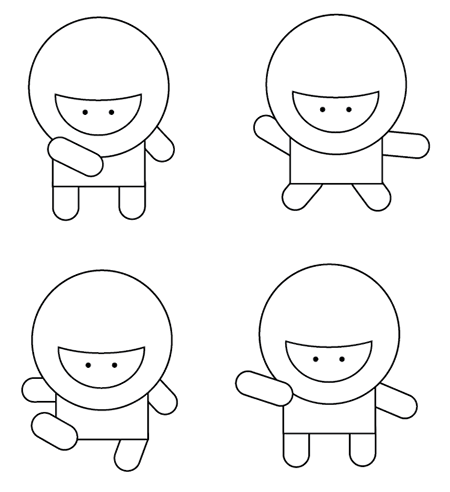
Copy and paste multiple variations of the original line-work character.
Adjust and rotate the limbs into a range of scary ninja combat
positions, adjust the stacking order of the arms to in front or behind
the body to give different effects.
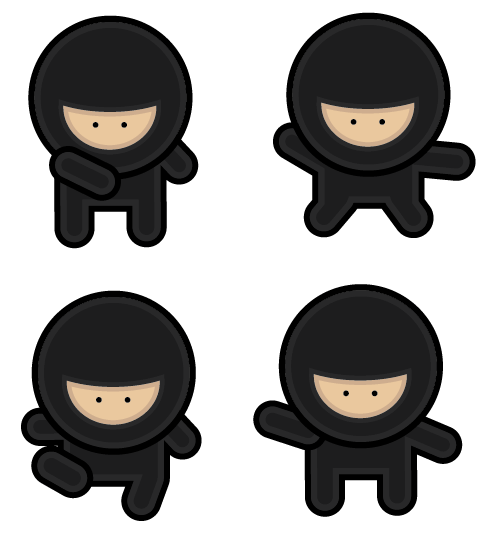
With each individual character, repeat the process of merging shapes and
colouring the objects to produce a group of cool ninjas. However, no
ninja would be complete without combat accessories…
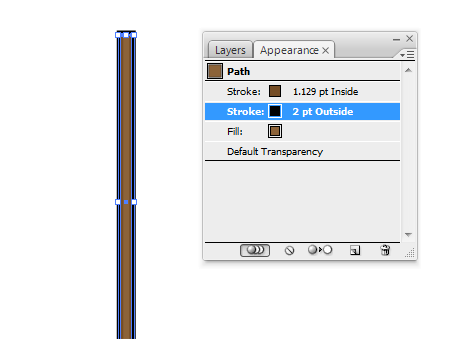
Create a staff using a long thin rectangle, fill the object with brown while adding a black outline.
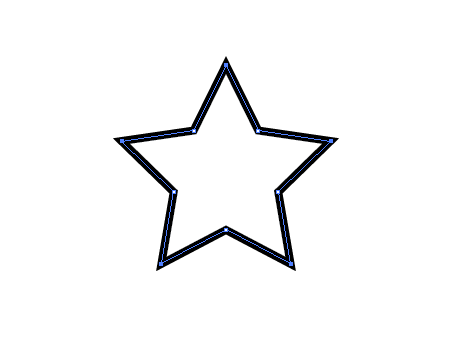
Create a pointed object using the Star Tool, using the Direct Selection
Tool select each of the points of the path from each arm of the star.
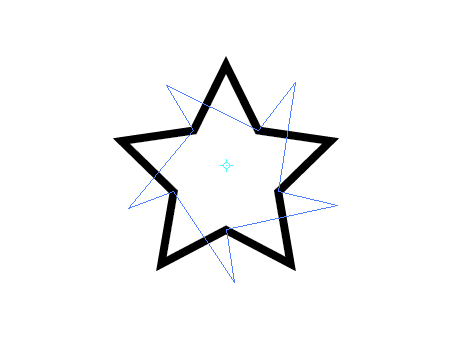
Upon selecting the Rotate Tool, the point of origin will automatically
default to the centre of the object. Click and drag to adjust the
overall shape of the star.
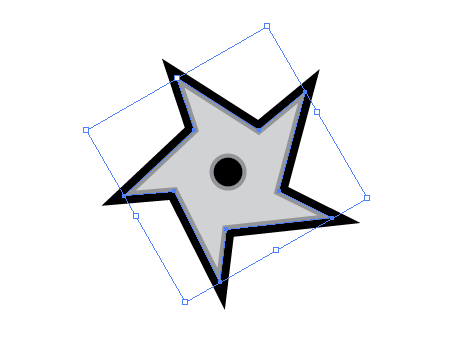
Draw a solid circle in the centre and fill the death star weapon with a
metal like grey. Add a black outline and a secondary inner stroke with a
slightly darker grey.
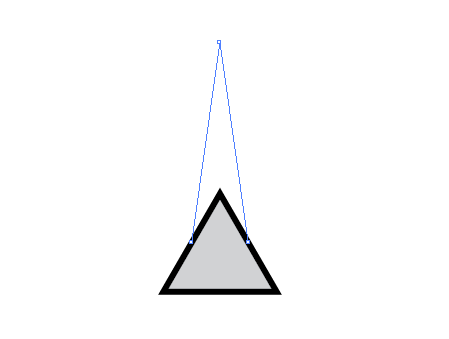
Using the same colour scheme, draw a triangle by dragging a shape with
the Star Tool and pressing the downwards cursor key to reduce the number
of points. Grab the upper most point with the Direct Selection Tool and
drag vertically.
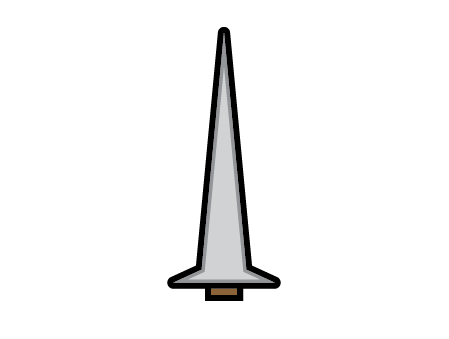
Select and drag the middle two points to squash the lower half into a
sword like shape. Finalise this with a small brown rectangle, remember
the majority of the handle would be concealed by the hand so only a
small section is required.
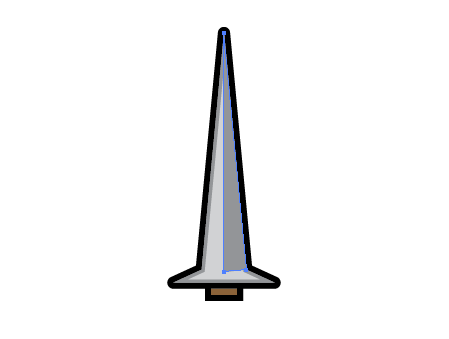
Use the Pen Tool to neatly draw in a three sided shape to represent the chamfered finish of the sword blade.
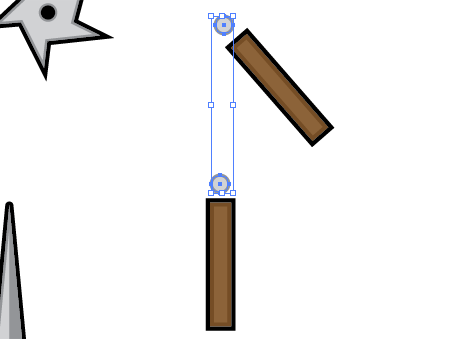
Create two Nunchuk handles and the beginning and end points of the
adjoining chain. With both chain elements selected head to Object >
Blend > Make
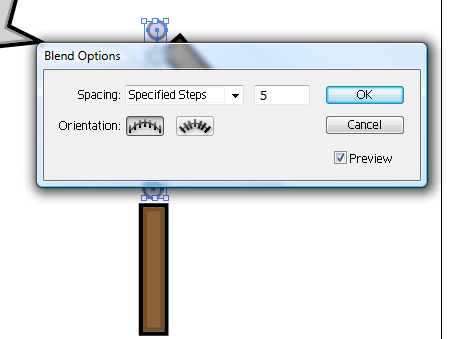
Go back to Object > Blend > Blend Options, enter 5 under the
Specified Steps option to alter the type of blend to give a line of
individual items.
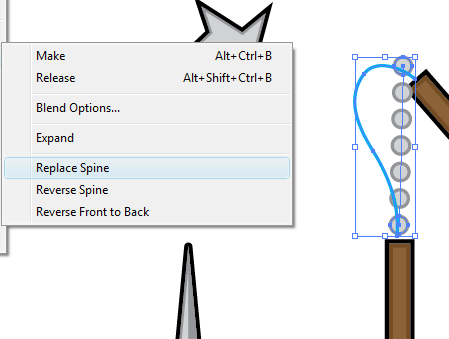
Use the Pen or Pencil tool to draw a temporary line to symbolise the
desired route of the Nunchuk chain, with this and the blend selected, go
to Object > Blend > Replace Spine.
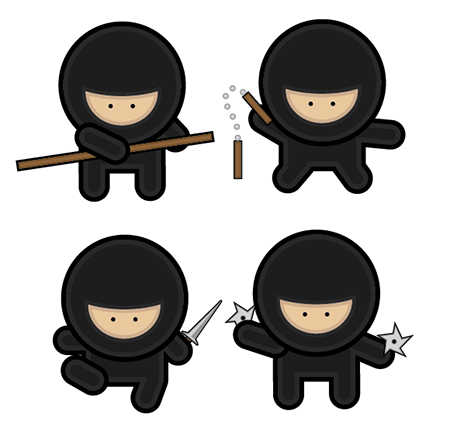
Group each individual weapon and move into place on the various characters, completing the group making them ready for action!
Using basic vector shapes, a stylish and fun image can be created using just the basic functions of Adobe Illustrator.